To get your cat used to a carrier, make it a normal, pleasant part of your home: keep sessions short, offer rewards, and move forward one step at a time, only when your cat is relaxed with the previous step. If the carrier only appears on the day of a vet visit, your cat learns to avoid it. That’s why it’s a good idea to keep it at home and introduce it calmly. The timing varies from cat to cat, so there’s no schedule that works for everyone. If your cat already runs away or hisses at the sight of the carrier, they need a slower, more targeted approach than the one described here.
Before you start: where to put it and what to prepare
Choose a quiet room your cat spends time in, and place the carrier on a stable surface, away from the litter box and food and water bowls. Then prepare:
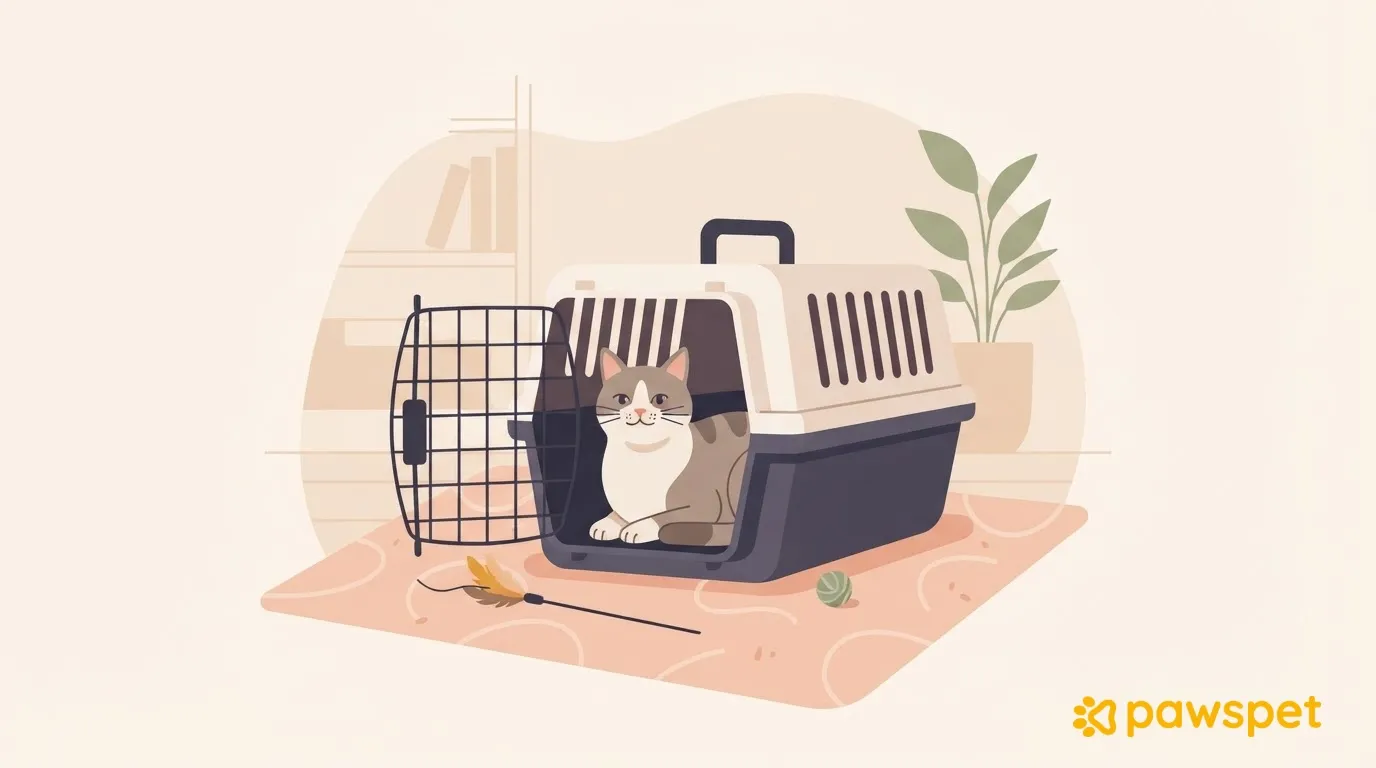
- The door open or removed. If the model allows, remove the top half too: at first, it should look like an open bed.
- A familiar-smelling fabric. Put a blanket or towel your cat has slept on before on the bottom.
- Rewards your cat likes. Small treats, some of their meal, or a wand toy. Make sure food rewards come out of their daily ration.
The steps in the plan
Each step has an action and a criterion for considering it complete.
Step 1: the carrier as furniture
Leave it open in the room, with the fabric inside, without asking anything of your cat: no calling them over or offering treats. Complete when: your cat walks past it naturally, sniffs it, or lies down nearby.
Step 2: exploring with rewards
Toss a treat near the carrier. When your cat takes it without hesitation, place the next treats by the entrance and, little by little, at the back. Complete when: your cat goes in to get them and comes back out without hurrying.
Step 3: meals, play, and rest inside
Serve a meal, or part of one, inside the carrier and play with a wand toy, moving the toy in and out. Let your cat rest there whenever they want. Complete when: your cat goes in on their own and eats, plays, or sleeps inside as they would in any other bed.
Step 4: closing the door for a few seconds
Reattach the door and, if you removed it, the top half, then repeat a few easy sessions from Step 3 with the carrier fully assembled. While your cat is eating, close the door for a few seconds, then open it before they show any signs of discomfort. Gradually keep it closed for longer. Complete when: your cat keeps eating with the door closed and comes out calmly when you open it.
Step 5: lifting and moving it around the home
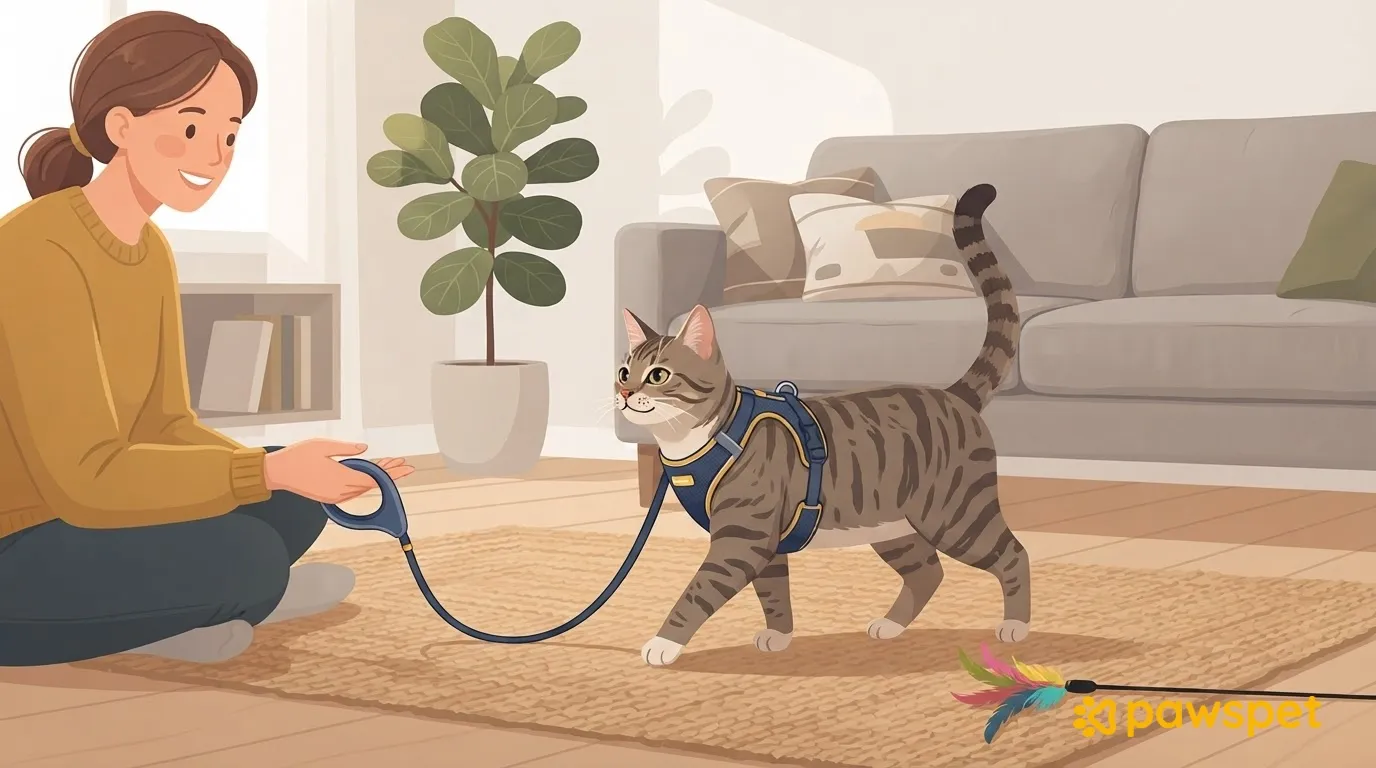
With your cat inside and the door closed, lift the carrier a few inches, set it down, open the door, and offer a reward. Then carry it short distances around the home, holding it with both arms close to your body. Complete when: your cat stays calm while you carry them and relaxes as soon as you set the carrier down.
Step 6: from the front door to the parked car
Carry the carrier to the front door, come back inside, and offer a reward. When your cat is comfortable, try sitting in a parked car with them (always stay with them) or take a trip of a few minutes with no destination, then come back inside and offer a reward. Complete when: your cat stays calm in the car too and, once back home, eats the reward as usual. For the actual journey, see our guides to traveling by car with your cat.
When to move on and when to go back
Signs of relaxation: goes in on their own, lies down, grooms, eats normally, and has a relaxed body and tail.
Signs of tension: freezes, keeps their body low, has flattened or turned-back ears, dilated pupils, and a swishing tail; tries to get out or hisses.
Rule of thumb: move to the next step only after several calm sessions in a row. At the first sign of tension, stop, go back to the previous step, and shorten the session.
How often to practice
Short, regular sessions are better than one long session every now and then. Choose times when your cat is calm, and always finish with a success, even a small one: an easy action they have already mastered, followed by a reward. If you have a vet visit scheduled, start weeks ahead of time.
To avoid letting days go by without a session, you can create a recurring activity in the PawsPet app. In the «Attività» tab, tap «+», choose the «Generale» category and the «Addestramento domestico» type; if you like, select your cat in the «Animali» row. Use «Ripeti» to set the frequency («Ogni N giorni» or «N volte al giorno») and, under «Durata», choose «Fino a una data»; from the row with the bell («Imposta avviso»), add a reminder and tap «Salva». Mark each session as done by tapping the circle (or «Ignora» if you skip it), and use «Note» to write down the step you reached. The app helps you remember sessions and see which ones you’ve done; your cat’s signals, not the calendar, determine whether it’s time to move on.
Mistakes that send you back to square one
- Only bringing out the carrier before a vet visit and then putting it away: your cat starts to associate it with that occasion.
- Chasing your cat or surprising them to get them inside.
- Closing the door too soon or for too long.
- Tilting or shaking the carrier to get your cat out: the inside stops feeling like a safe place.
- Skipping steps because the appointment is coming up: it’s better to master one step than rush through several.
- Washing away every familiar smell with scented products: the carrier should keep smelling like home.
The most helpful thing is simple: leave the carrier at home after vet visits too, open and with your cat’s fabric inside, and repeat an easy step every now and then to maintain the habit.
Frequently asked questions
What if the vet visit comes before I finish the plan?
Don’t postpone necessary visits or care just to complete the steps. Get the carrier ready with the familiar fabric inside, place it in a small room, and calmly bring your cat there without chasing them. After the visit, start again from the step your cat can manage comfortably.
Is it worth buying a new carrier?
It’s not necessary: if the one you have is in good condition and closes securely, use the same steps. If you get a new one, it will be unfamiliar to your cat, so start again at Step 1 with the familiar fabric inside.